

Properly PHotographing and Filming
a Completed Roofing Job


Capture high-quality photos and videos of your completed roofing work to show potential clients what you can do.
This step-by-step guide will walk you through the process, from prep work to post-production, whether it be a residential or commercial building. You can use these principles to create some amazing visuals for placement on websites, social media, or any other promotional material.
1. Planning Your Shoot - Pick the Right Time of Day
In outdoor photography, timing is everything. It is best to take a picture of a roof during the so-called "golden hours," a little after sunrise and just before sunset. This creates soft, diffused light with no harsh shadows, producing a warm, natural glow that enhances the details and color of the roof.
Slightly overcast days are great for the same reason: the clouds act as a natural diffuser.
Avoid noon-time shots: strong sunlight might have bleached the color and created dark shadows, making the details of the roof hard to capture.
Check the weather to make sure there is no rain, fog, or high winds that could affect either the shooting process or safety.
Get the appropriate gear.
Invest in the right equipment to achieve professional results:
Camera: The best camera would be a DSLR or mirrorless with a large dynamic range. Phones with advanced camera systems can be used, but the greatest latitude is obtained with a professional camera.
Lenses: Wide-angle lenses to take in the entire roof and telephoto lenses to get close-ups of specific features.
Tripod: Keeps your shots stabilized and consistent, especially when bracketing.
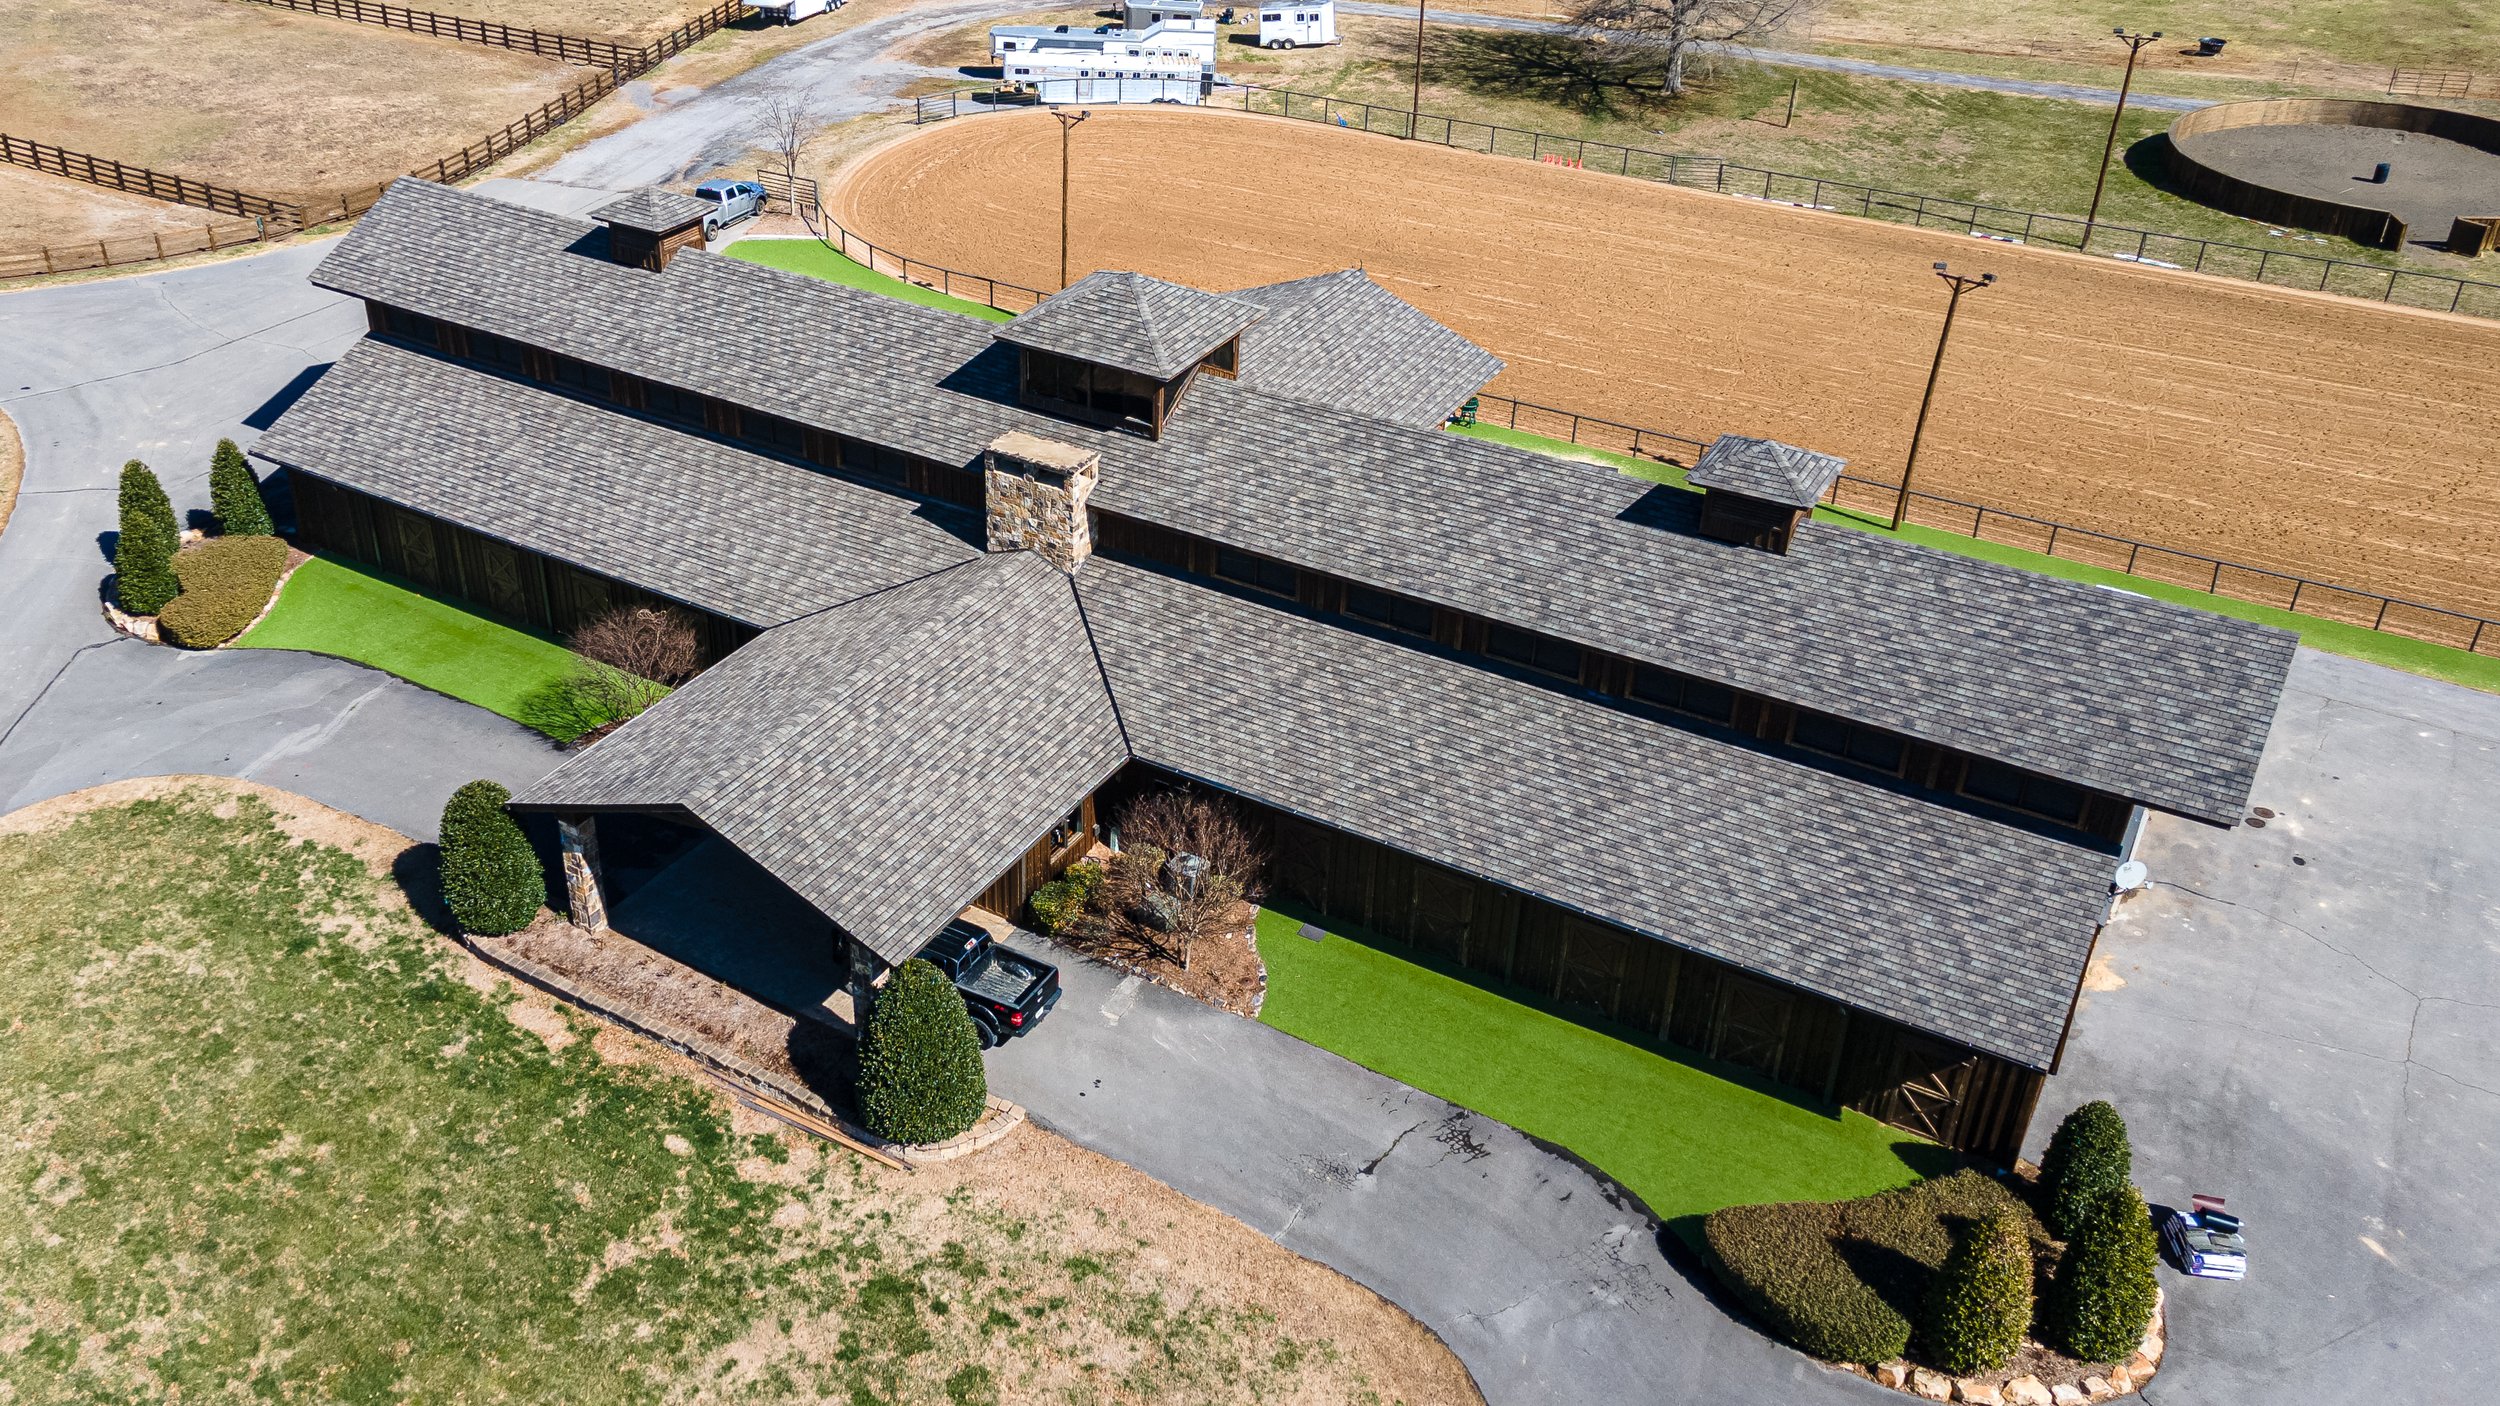
Drone (optional): Aerial views for a thorough view of the roof.
Polarizing Filter: Reduces glare from reflecting surfaces like shingles, tiles, or metal roofs.
2. Preparing for the Shoot - Clean and Stage the Area
A clean and tidy environment can make a big difference in your photos and videos.
Clear away rubbish, tools, or any materials still at the site.
Trim the peripheral vegetation if it's blocking the view of the roof.
Ensure gutters, flashing, and vents are clean and presentable.
Inspect the Roof
Note the roof's special features and the property layout:
Note any features that might require special attention, such as skylights, solar panels, or complex patterns in the roofing material.
Assess the building’s surroundings for optimal shooting angles, including trees, driveways, and neighboring buildings.
3. Running the Shoot - Photographic Techniques
Bracketing for Maximum Results
Bracketing involves taking multiple shots of the same scene at different exposures. This will enable you to get all the details, from the highlights to the shadows. Many cameras have an automatic exposure bracketing (AEB) mode that makes this process easier.
Set Up Your Camera: Use a tripod to avoid framing issues.
Take three to five exposures: Bracket exposures between each shot (e.g., -2 stops, 0, +2 stops).
Merge photos: In post-processing, combine the bracketed exposures to create a single high dynamic range photograph with balanced lighting.
MASTERING COMPOSITION
Good composition ensures your photos look professional and interesting.
Rule of Thirds: When possible, place the roof or property along grid lines to make the shots balanced and visually appealing.
Framing: Use trees, fences, or other natural elements to frame the roof for added depth.
Angles: Shoot the roof from other angles:
Straight-on shots for symmetry.
Low-angle shots to emphasize height and structure.
Aerial views to give a full view of the roof.
Essential Shots to Capture
Wide Shots: Show the whole property to give context.
Close-ups: Emphasize the workmanship, such as shingles, flashing, or special patterns.
Before and After Comparisons: Capture the change by photographing both scenarios from the same vantage point and composition.
Videography Techniques
Stabilization and Mobility
For professional, smooth video footage:
Eliminate the shakiness with a gimbal or a drone.
Add in slow, gingerly movements of pans, tilts, and tracking shots.
Storytelling with Video
Videos should tell a story about the roofing project:
Begin with establishing shots of the entire property.
Include shots of key features and special features.
End with a broad aerial view to make a lasting impression.
Add Human Elements
Include shots of workers or homeowners interacting with the roof or checking out the final product—this adds a face to the story, so to speak.
4. Post-Production - Polish Your Work
Photo Editing
Editing brings out the best in your images.
Color Correction: Brightness, contrast, and saturation have been adjusted to make the roof colors pop.
HDR Processing: Merge bracketed photos for even exposure.
Cropping: Remove distractions and enhance composition.
Retouching: Removing small imperfections, like, some stray stuff or stray reflection.
Video Editing
Produce professional final products using video editing software.
Trim Footage: Remove unnecessary clips to keep the video concise.
Add transitions: Smooth the transition between clips to give a professional look.
Overlay Text or Graphics: Add the property address, roofing materials used, or company branding.
Add background music that's appropriate for the tone of the video.
5. Web and Social Media Optimization - File Format and Resolution
Optimize your images and videos for the web:
Photos: Export in JPEG or PNG format at a resolution suitable for web use (e.g., 1080p for websites, higher for print).
Videos: Export in MP4 format, resolution set in accord with the best practices for each platform—YouTube at 1920x1080p, Instagram at 1080x1080.
Optimize Content for Each Platform
Different platforms have different requirements:
Website: High-resolution, detailed photographs used for galleries and sliders. Facebook: Share photos and videos with good captions, mix it up a little.
Instagram: Focus on aesthetics and vertical compositions (4:5 ratio).
LinkedIn: Emphasize the technical aspects of the project for a professional audience. Add context and branding Include descriptive captions with details on roofing materials used, challenges overcome, and the timeline of the project. Protect your work and reinforce your brand identity with watermarks or logos. 6. Bonus Tips Safety First Follow all safety guidelines, especially when working with ladders, drones, or accessing roofs. Ensure the area is safe to avoid any accidents or damage of equipment. Create a Portfolio Showcase your best work in a clean portfolio for viewing on your website and in client pitches. Connect with Your Markets Ask clients to give testimonials and mention your company when sharing your content on social media.
By following these steps, you’ll produce professional-quality photos and videos that highlight the craftsmanship and beauty of your completed roofing jobs. Thoughtful preparation, skilled execution, and strategic presentation.
If all of this seems a bit overwhelming, we understand. Be sure to reach (call/email links below) to make sure your roofing job is showed off properly!